Are you fairly active in your genealogy research? Here's one routine you must follow. Make it a habit, and all your digital documents will be safely stored and backed up.
Step 1. Start With a "Working" Folder
My backup routine got so much easier when I started using a working folder. This computer folder (literally named "working") is where I put files I'm actively working on.
 |
| Use a system like this to improve how you handle and safeguard your family tree image files. |
Let's say I download a census image from Ancestry.com. I put it in my working folder and begin to process it:
- Crop the image in Photoshop and use the "Export As" function to reduce the file size. (My favorite new trick. See illustration in this article.)
- Right-click the image and choose Properties so I can add a title and description to the file.
- The title begins with the year of the document. Like "1882 birth record for Pasquale Iamarino." That way, the documents arrange themselves chronologically in Family Tree Maker.
- The description contains everything needed to make a solid source citation.
- Drag and drop the image into Family Tree Maker, attaching it to the right person.
- Create the source citation to use for each fact learned from the document. The I share the image, facts, and citation with anyone else mentioned (as on a census).
- Add a notation about the new file in my document tracker spreadsheet so I know what I have for this person.
Step 2. Move Files to a Holding Area
Now that I'm finished with this file, I no longer need it in my working folder. I can move it to a holding area (another folder) where it will sit until I backup all my files.
As you may know, I work with Italian vital records more than any other type of document. So I named my holding area folder "certificates." (As in birth, death, and marriage certificates.)
The idea is to hold your new documents in one place until you're ready to follow your backup routine. Once backed up, you can move the files to their final destination.
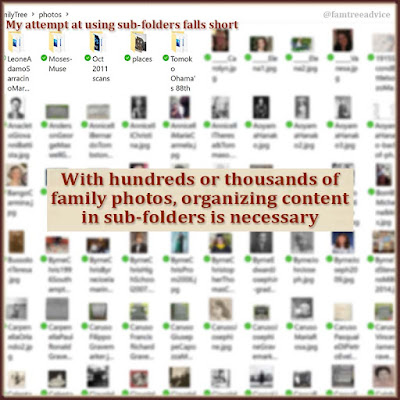
Here's how the process evolved for me. I have so many thousands of vital records that my certificates folder was hard to use. If I wanted to sort them by date, it took a long time to process.
 |
| If you use Photoshop for your family tree image files, this trick is an absolute game changer. |
So I divided my certificates into eight batches:
A–C, D–H, I–L, M–O, Pa–Pi, Po–R, S–Y, and Z.
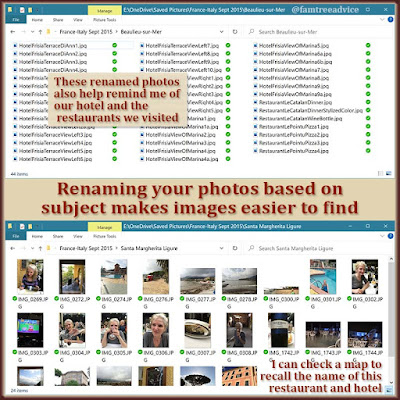
I name my files using a "LastnameFirstnameDocument-typeYear" pattern. I have a ton of family names that begin with P and Z. These breaks work out to be roughly even amounts of files in each folder.
That's when I realized a working folder would help me, so I created mine right in my certificates folder. But yours can be anywhere.
Finally, I added a folder to hold non-vital records until they are ready to backup. To make sure I didn't overlook this folder, I named it "DON'T FORGET TO BACK UP THESE." After they're backed up, these files will go in their proper folders, such as census, draft cards, immigration, etc.
Your folder names and locations can be whatever works best for you. You'll want (1) a folder to work in, and (2) a holding area for finished files.
Step 3. Stick to a Weekly Backup Routine
I don't know when I became such a big fan of routines, but I've been running my life like clockwork quite happily. One of my routines is Sunday morning household bookkeeping and file backup.
My bookkeeping is obsessive, but it has served me well since I first moved out of my parents' home. Once that's done, I plug in my two external hard drives. One is set to automatically create a backup of new files from folders I selected. I added this step to cover me if my older external drive fails.
The other external drive uses a manual process. I drag and drop new files from a list of specific folders into matching folders on the external drive. These files include:
- PDF bills and statements
- Quicken files
- Microsoft Outlook files, and more.
Finally, it's time to back up all my family tree files. I drag and drop my Family Tree Maker files, which can take a while because of their size. Then I open my holding area folder ("certificates" for me) on my computer, and its mate on the external drive. I grab a few files and drag them to the appropriate sub-folder on my external drive, and then on my computer. This moves the files out of the holding area and into their final destination.
Then I go into my "DON'T FORGET TO BACK UP THESE" folder. I have to determine what each file is so I can drag them to the proper folder on my external drive and my computer. I'll drag and drop all the census files, then all the draft cards, all the ship manifests, etc.
When I'm done, my holding folder has no loose files in it. My files are stored on two external drives. Plus my family tree files get backed up to OneDrive automatically.
All housekeeping chores get harder if you wait too long. Even if you aren't a very active genealogy researcher, you have plenty of files you need to protect.
So tell me. Which day of the week works best for you?


